Glb to Mold: Convert a Colored PLY Scan to GLB for Web and AR
Learn how to turn a colored PLY scan into a web-ready GLB: check the mesh and color, set units, simplify before export, and understand where glb to mold fits.
Readers looking for glb to mold will find a practical path from a colored PLY scan to a web- and AR-ready GLB, including checks for mesh structure, units, and vertex color before conversion.
The tricky part of converting a scan is rarely the file extension. Before exporting a GLB, I check that the PLY contains a surface, interpret its unstated units, and make sure its color is stored in a form the converter can carry across.
The short version
- Start with a mesh PLY that has faces, not a file containing points alone.
- Check the scan’s dimensions before converting. PLY does not declare units; the converter starts by treating coordinates as millimeters, while GLB uses meters.
- The PLY to GLB converter accepts ASCII and binary PLY meshes and carries per-vertex color into the GLB’s
COLOR_0attribute. - For a dense scan headed to a web page or phone, simplify the mesh before conversion and compress the finished GLB afterward.
Inspect the scan before changing formats
A scan can look convincing as colored dots without containing a usable surface. For this job, the PLY needs vertices and faces: vertices locate points in space, while faces join them into triangles that a mesh viewer can draw. Checking that distinction first saves time spent troubleshooting an export that cannot produce the intended model.
I use the PLY viewer to inspect an unfamiliar file before converting it. It opens ASCII and binary PLY files, displays meshes as shaded surfaces and files without faces as points, and shows vertex and triangle counts. On a mesh, wireframe helps reveal long, thin triangles or unusually dense patches. Clay mode hides vertex colors so I can judge the captured shape without confusing baked-in shadows for geometry.
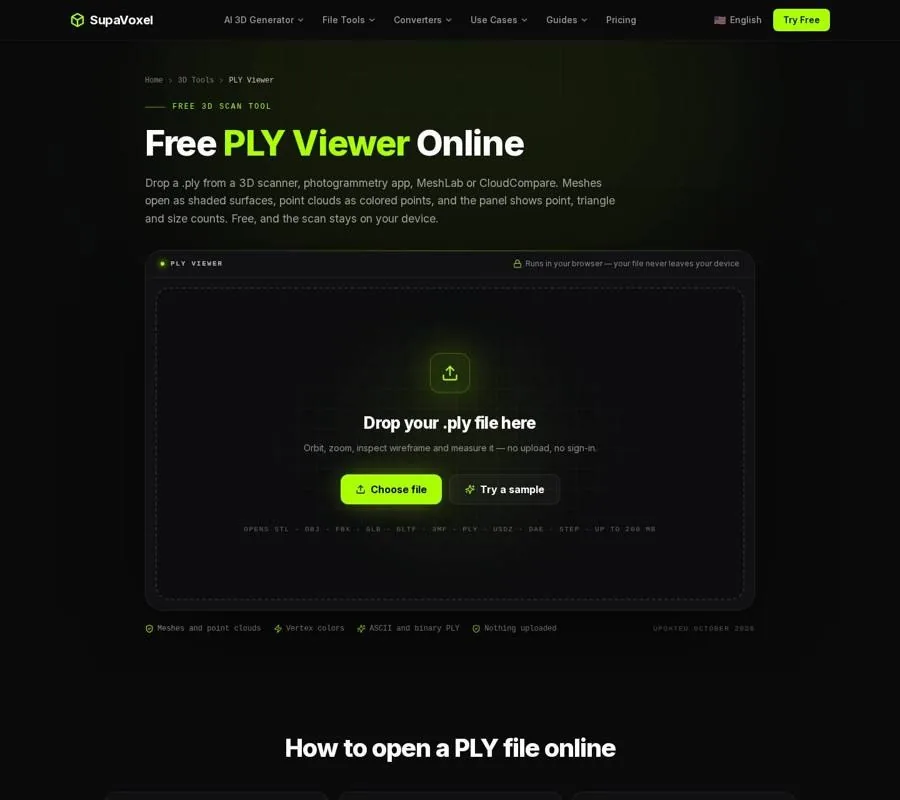
The PLY viewer shows the scan and provides counts and size information to check before export.
Check color here, too. Many scanners and photogrammetry workflows store red, green, and blue values on individual vertices rather than in an image texture. If the surface appears colored in the viewer, that is a useful indication that the PLY has readable vertex colors. A separate texture image named in a PLY header is different: the GLB converter reads the .ply alone and does not load that image.
If the file appears only as points, stop and reconstruct a surface in a meshing tool before following the rest of this tutorial. The conversion steps below assume a finished mesh.
Set the scan’s units from its real dimensions
PLY has no unit field. Its coordinates are numbers without a built-in declaration that they mean millimeters or meters. GLB, by contrast, uses meters. A converter must therefore interpret the incoming numbers before writing the result.
The default millimeter interpretation suits many handheld and desktop scanner exports. Photogrammetry exports may already use meters. Leaving one of those exports on the millimeter setting shrinks it dramatically: the converter’s example is a 2 m statue arriving as a 2 mm speck.
Here is the check I make before pressing convert:
- Find a dimension you recognize. Use the object itself, the scanner’s export settings, or the PLY viewer’s bounding box to establish what the coordinate values represent. The viewer displays its bounding box in millimeters by default, so do not treat that label as proof of the file’s original unit.
- Set File units accordingly. Keep millimeters for a scan whose coordinates were written in millimeters; switch to meters if the source wrote meters.
- Read Output size. The converter shows the resulting dimensions in meters. Compare them with the real object, not just with how large the preview looks on screen.
That last check matters because a viewer can frame a tiny model and a large model to fill the same window. Appearance in the preview cannot establish physical scale. If Output size is wrong, fix File units and check again before downloading.
Convert the colored mesh
Drop the .ply into the converter. It accepts ASCII or binary PLY files up to 200 MB, and its panel reports vertex and triangle counts. Confirm that it has triangles, check File units and Output size, then press Convert to GLB.
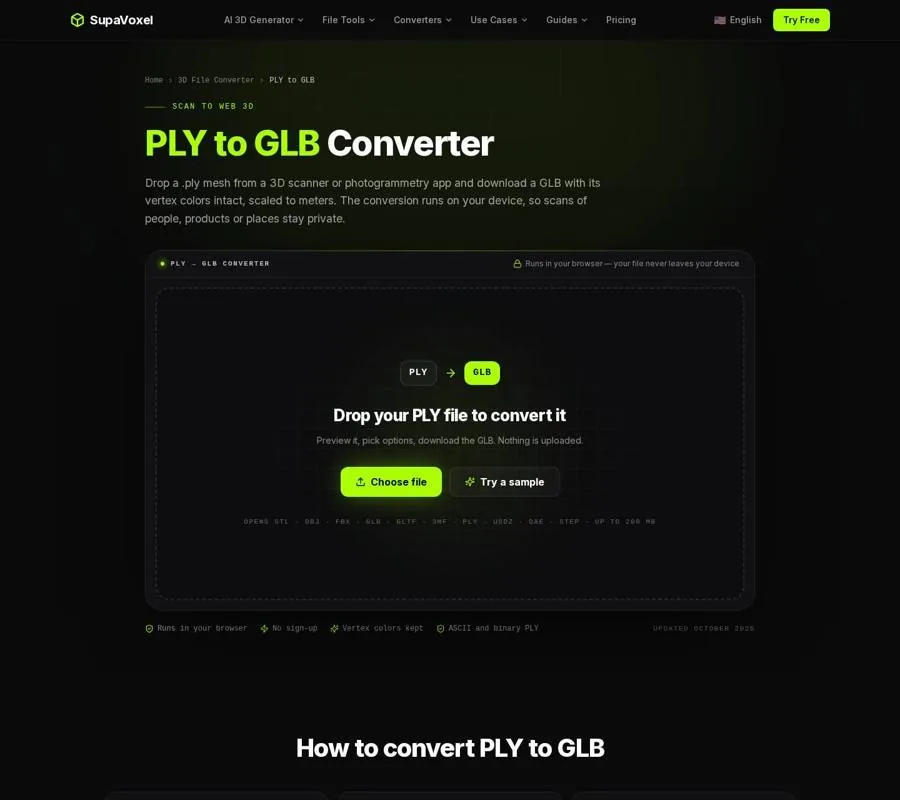
The converter is where I check the mesh counts and output dimensions before downloading the GLB.
The resulting binary file carries vertex positions, faces, normals, and per-vertex colors. If the PLY has no normals, the converter computes them; texture coordinates are kept when present. Vertex red, green, and blue values become the glTF COLOR_0 attribute, a standard way for a GLB mesh to carry color without relying on an accompanying image file.
There are limits to that transfer. Custom PLY properties such as confidence, quality, or curvature are dropped. An image merely referenced in a PLY header is not loaded. If your scan’s visible detail depends on such an image rather than vertex RGB, inspect the result before assuming it will look like the source.
The conversion runs in the browser without uploading the scan. That is useful when the subject is a person, a home, or a prototype, but it does not replace checking what the exported file actually contains.
Make a dense scan practical to share
A format change does not remove unnecessary triangles. A detailed scan can still be heavy for a phone after conversion, even when its entire asset fits in one GLB. The converter’s guidance specifically warns that a 2-million-triangle scan is demanding for a phone.
I handle size in two separate passes:
- Before conversion: Remove unwanted floor or turntable remnants in the scanner software or MeshLab. Then use a mesh simplifier if the scan has more geometric detail than the destination needs. Simplifying reduces the geometry the GLB must carry.
- After conversion: Use a GLB compressor to shrink the finished file further. Compression is not a substitute for removing excess geometry first.
Keep the original PLY as the source copy while doing this work. It lets you return to the scan if you simplify too aggressively or discover that a small feature matters in the final presentation. Compare the reduced mesh with the source in both shaded and wireframe views; a smooth-looking preview can conceal the loss of a sharp edge or a narrow gap.
Avoid judging success by file extension or file size alone. A GLB is not guaranteed to be smaller than a binary PLY: it may also store normals, while an ASCII PLY may start out substantially larger. For web and AR use, the useful question is whether the exported model has the detail, color, scale, and weight your destination can handle.
Check the GLB in its intended viewer
Open the exported file in the environment where it will be used. GLB is intended for browsers, engines, and AR viewers; the converter lists three.js, <model-viewer>, Blender, Godot, and Android Scene Viewer among direct destinations. A successful download is only the start of the check.
Look for three things. First, does the model have the expected physical size? A wrong unit setting is easiest to catch by comparing a known dimension. Second, do the colors appear on the surface? The converter writes vertex color data, but a viewer that ignores vertex colors may display a gray model. Third, does the scan hold up at the viewing distance that matters? If the mesh is too heavy, return to simplification; if important features vanished, return to the less-reduced source.
This check is especially important before embedding a scan on a web page or sending it for phone-based viewing. Test the actual destination rather than relying only on the conversion preview.
When OBJ is the better editing handoff
GLB is a good destination when I want a colored scan for web display or AR. If the next task is editing the mesh in a 3D application, an OBJ may be a more convenient handoff. SupaVoxel’s PLY to OBJ converter writes the mesh with normals and texture coordinates when available, and it can write vertex colors as extra values on OBJ vertex lines.
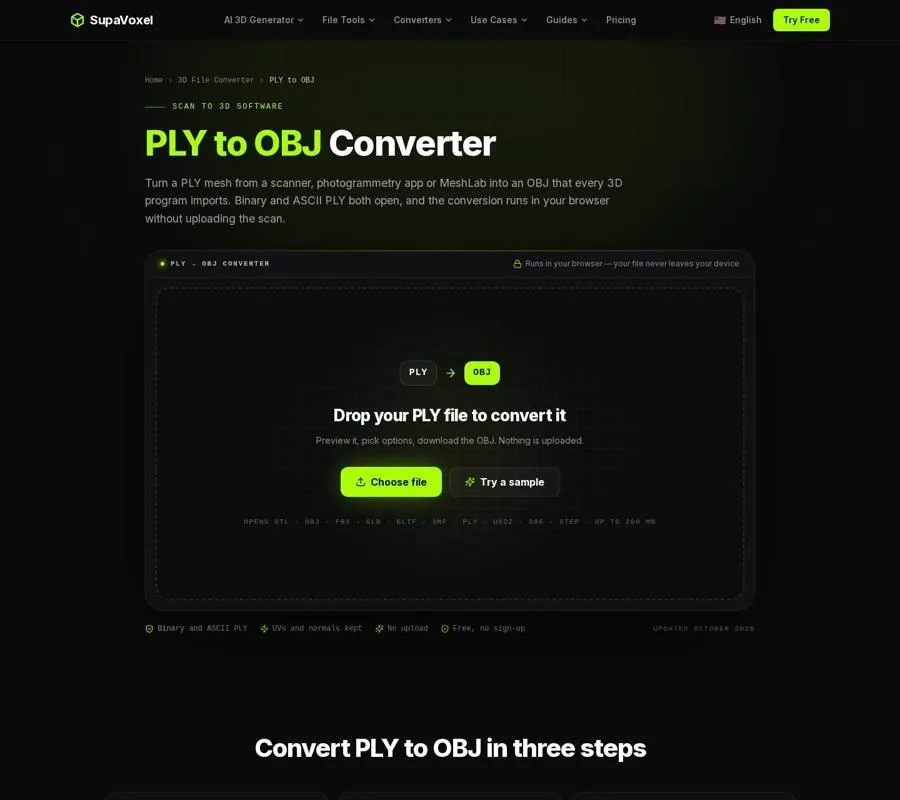
The PLY to OBJ page offers a separate route when the scan needs work in a 3D editor.
That color detail is the deciding factor. The OBJ vertex-color convention is an extension, and some applications ignore it. GLB’s COLOR_0 attribute is the clearer choice when preserving visible vertex color in a compatible web or AR viewer is the goal. Use OBJ for an editing workflow only after checking how the receiving application imports those colors.
FAQ
Why does my GLB look tiny?
The PLY may use meters while File units is still set to millimeters. Compare the converter’s Output size with a real dimension of the scanned object, change File units if needed, and convert again.
Will the GLB keep the scan’s colors?
Yes, if the PLY stores red, green, and blue per vertex. The converter writes those values to COLOR_0. It does not load a separate texture image referenced by the PLY header, and the destination viewer must display vertex colors.
Can I convert a colored PLY that shows only dots?
Not into the mesh described here. Dots indicate a file with vertices but no faces. Reconstruct a surface in a meshing tool first, save that mesh as PLY, then check its scale and convert it.
Want to try it yourself?
Try Supavoxel →